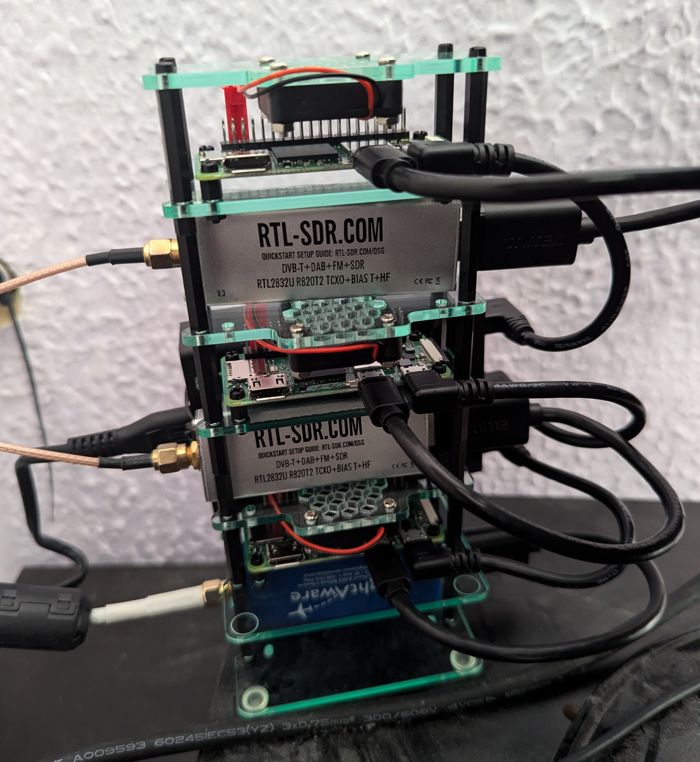
In the summer of 2024, I once again updated Plane/Sailing’s hardware design. It now looks like this! Background, build process and bill of materials are below.
Background
The hardware underlying Plane/Sailing has changed a few times over the years, from the first ADS-B receiver running on an original Raspberry Pi Model B, to a Raspberry Pi 4 capable of running three receivers (just), to one, then eventually split across two, Lenovo m93p Tiny PCs.
There have been occasional issues throughout the project with one or more of the RTL-SDRs dropping out. Back in the days of running the Pi 4 in an enclosure, I thought it was a thermal problem. Then I opened it all back up and added a powered hub, thinking it was a current supply problem. Then I moved to the Mini PC which had enough power for sure, but with three in a single PC I still had issues. I then began to wonder if the issue was just the sheer amount of data that three RTL-SDRs were chucking out onto a single USB bus.
Splitting the receivers between two Mini PCs worked a lot more reliably. I used Proxmox with clustering enabled on those boxes, which allowed me to set up one container for each task and move them between the physical machines as necessary. However, there was still one pain, which was device IDs. After a power cycle, or any kind of RTL-SDR dropout, the device would come back with a different bus and device ID in the host operating system. Unfortunately it’s these bus and device IDs that are used to allow containers access to host USB devices, so I was regularly having to ssh in, figure out the new IDs, and update config appropriately.
When I had my recent RF noise problem from one of the Mini PC power supplies, I decided I’d had enough with this as well, and a new approach was needed.
Since the time the Mini PCs were introduced, I have separately developed Plane/Sailing Portable, a mobile battery-powered receiver based on a Raspberry Pi Zero. This works really well, so I thought why not apply the same approach to the main Plane/Sailing hardware as well? I have proven the Pi Zero (W & 2W) capable of the job, plus with a single RTL-SDR per computer there should be no ID conflicts or bus data overloads.
Enter: The Stack.
Build Process
I decided that rather than have three separate versions of Plane/Sailing Portable sat on a desk (which, with hindsight, would have been more compact), I instead wanted to stack them together in a single neat-ish unit. As the basis for the stack, I chose the Pi Hut Mini Cluster Case for Pi Zero 2. To add space for the SDRs, I also added two lots of the Layer Pack. As you’ve seen above, this does make the whole thing rather tall—manageable for now I think, but if I were to add any more receivers, I would probably choose to 3D print or jigsaw-cut something to put the Pi Zeros in one stack and the SDRs next to it.
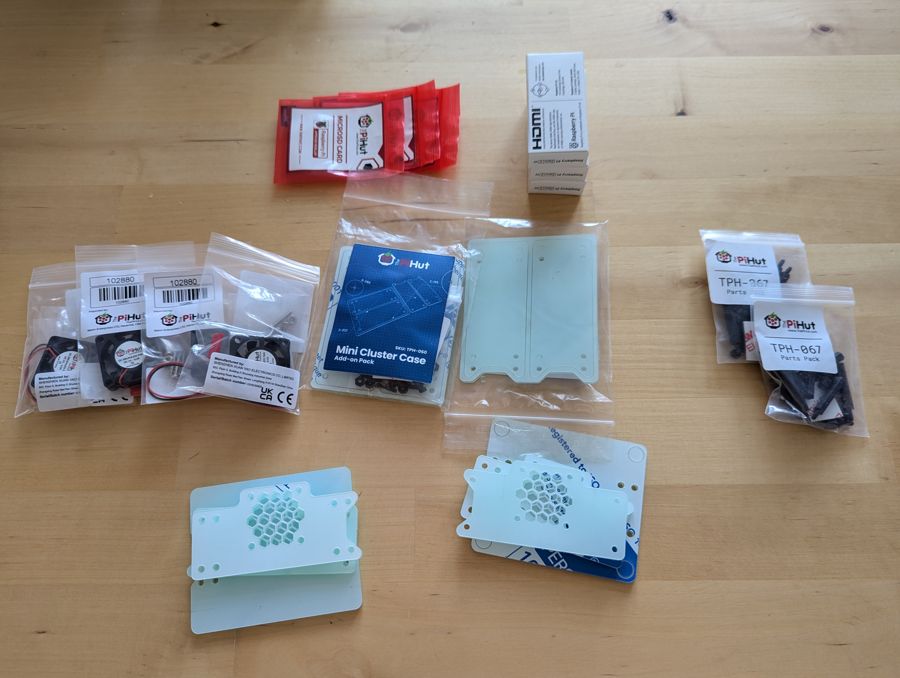
For once, Royal Mail impressed. Pi Hut’s shipping options were £4 for Royal Mail 1st Class or £6 for DHL Next Day Mon-Fri. I ordered Friday morning, picked 1st Class, and got it on Saturday morning less than 24 hours later. I was actually sat around for a few hours waiting for the Amazon Prime bits!
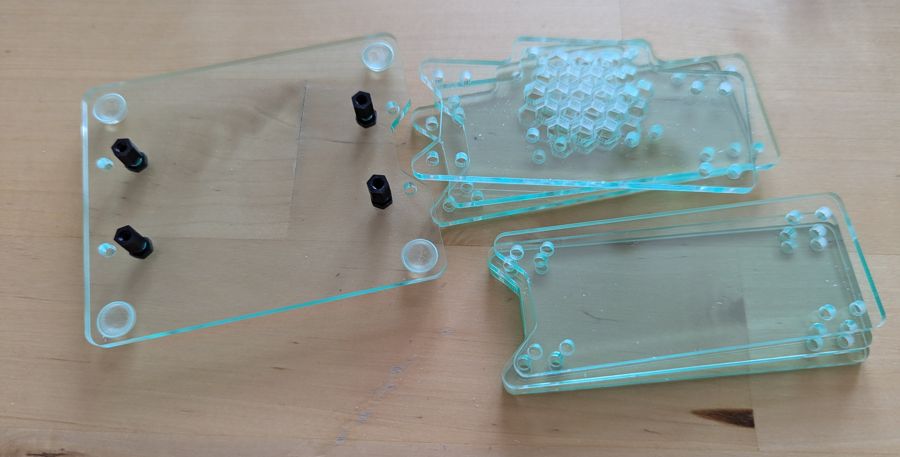
The case is easy to assemble from laser-cut clear perspex sheets and black nylon spacers. For my stack of 3 Pi Zeros and 3 SDRs, I needed a total of two Mini Cluster Case sets and two Layer Pack sets. There were a lot of nuts and bolts left over at the end, but I needed bits from all four sets to complete the build.
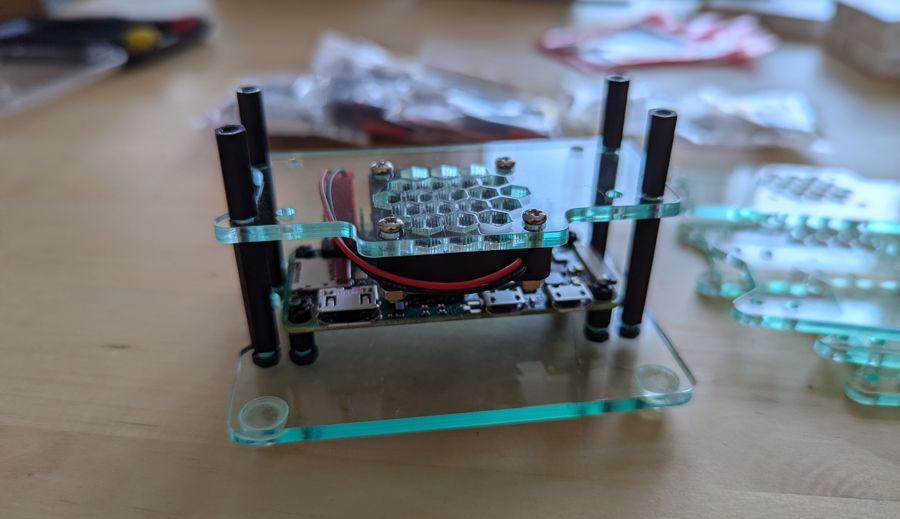
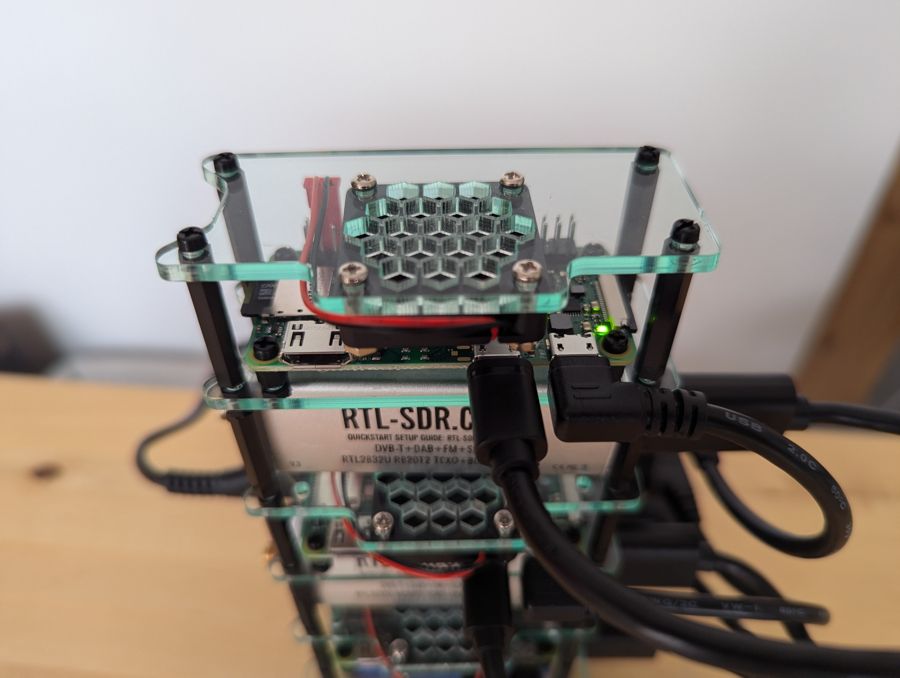
It’s easy to fit the fans in each layer as well. They run off the Pi GPIO pins. There is a fan speed controller board you can get separately, but I’m fine with them plugged directly in and running at max speed, as the SDRs do get hot, and in any case the fans are not at all noisy.
I had hoped to fit the RTL-SDRs flat on top of the Pi Zeros, similar to how they are in Plane/Sailing Portable. However, while they theoretically fit in the spacing between the mounting holes that way, they sadly do not once the standoffs are fitted:
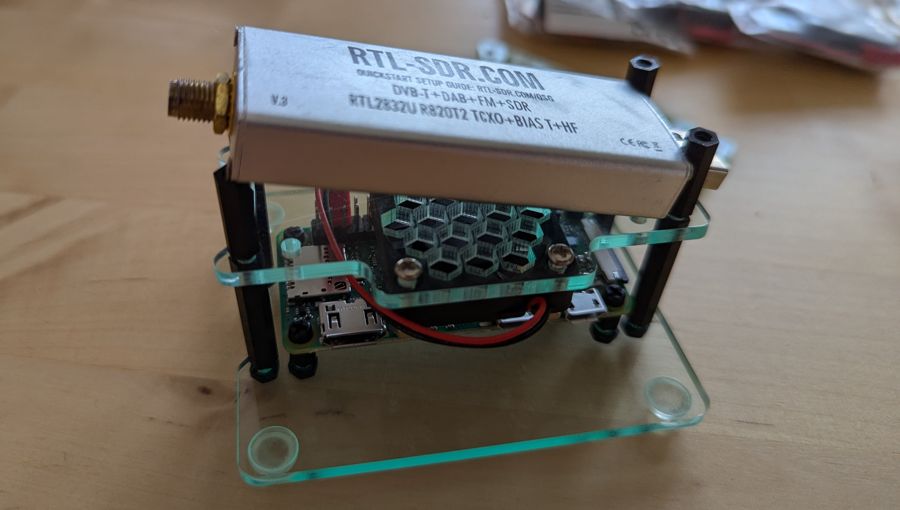
Fitting them horizontally would also have blocked most of the airflow for the fan, so I justified that to myself as a good reason to change their orientation. I put them in standing on their side instead, leaving more space for airflow. This does increase the overall height of the unit, and I had to combine 15+15mm standoffs and 22+8mm standoffs in order to achieve the necessary height. This was just about possible using almost all the standoffs available in the four kits.
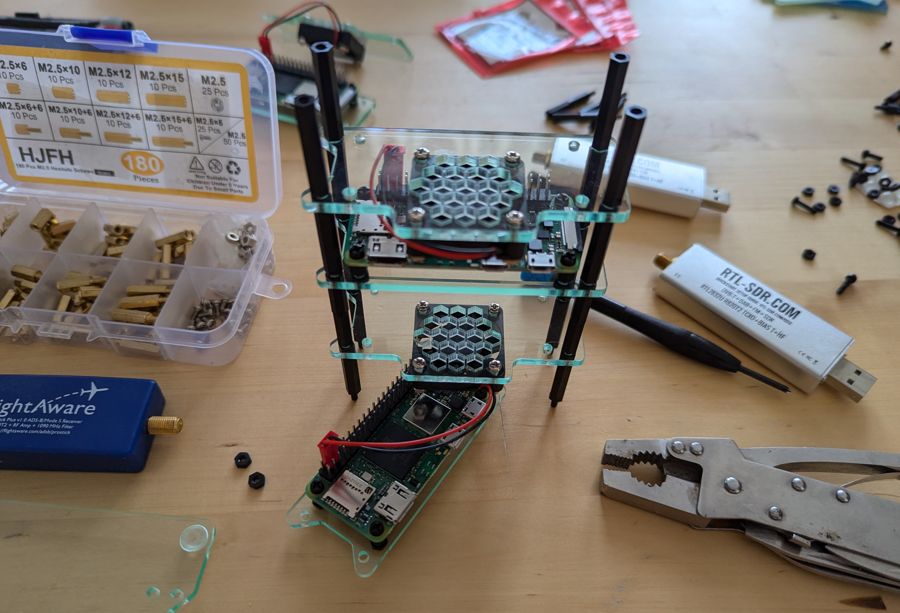
So, even though the kits I bought are intended for 4 or even 8 Pi Zeros, three is the limit when building the case like this; the limiting factor is using up the extra standoffs in this way.
With all three layers of Pi Zero assembled, leaving space for the RTL-SDRs, the stack looks like this:
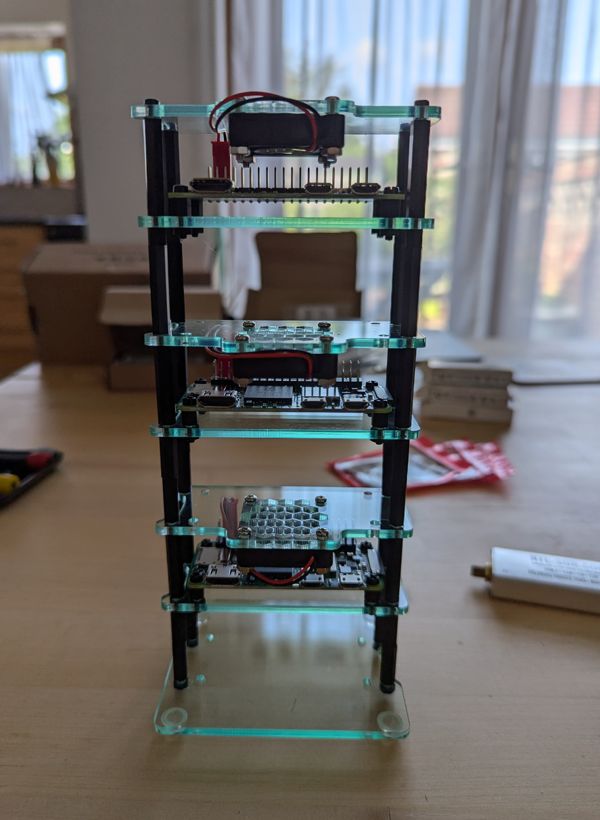
The SDRs mostly fit neatly in the layers between boards. The RTL-SDR Blog devices are a little shorter than 30mm in what’s now the vertical direction, so they do slide a bit. The FlightAware device is a little larger than 30mm, and I had to slacken off a couple of nuts to give it an extra millimetre to fit in.
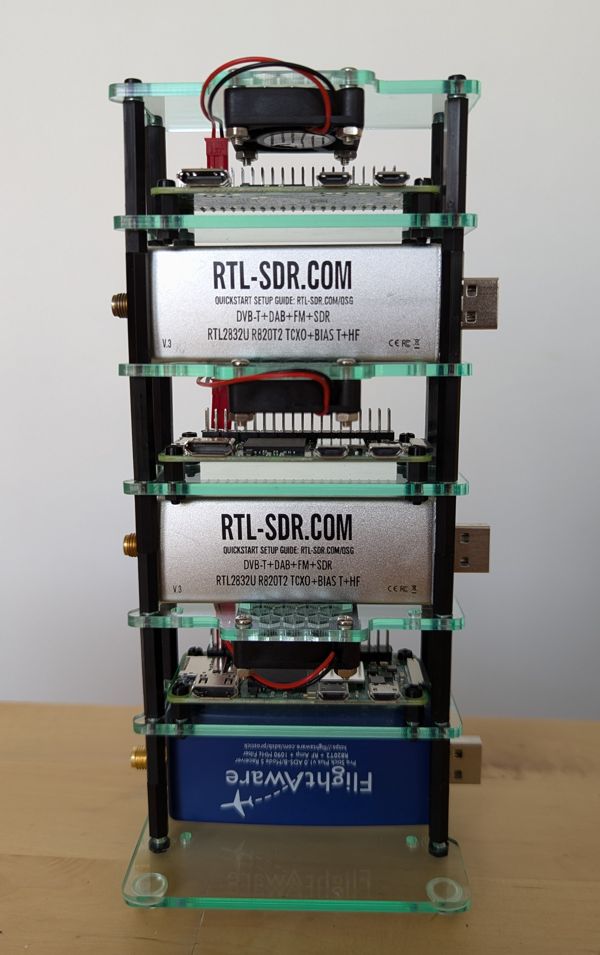
The nice neat stack wasn’t to last. Of course, I needed to connect all this up. I picked the shortest cables I could find for power (USB A to microUSB) and to connect the RTL-SDRs (OTG microUSB to USB A female), but still, it’s significantly messier than the neat build had been up to that point!
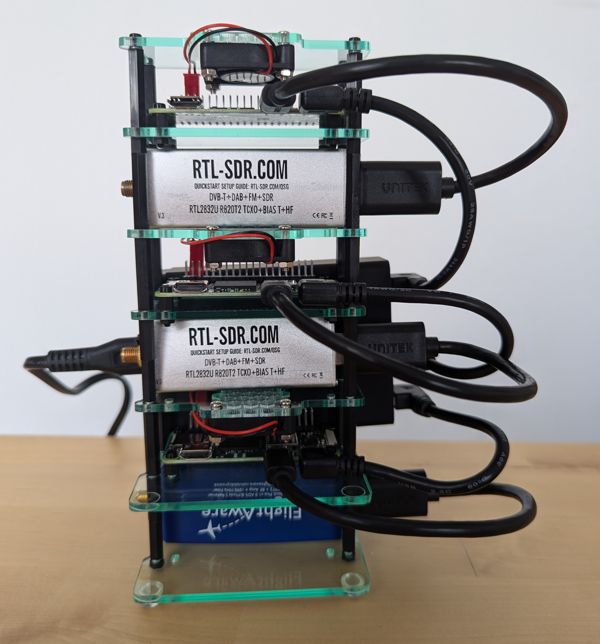
Behind the scenes, sitting on an elevated ledge from the case kit, is a mains power supply. Since the goal here was to provide a new set of Plane/Sailing hardware without the RF noise problem of the Mini PCs, I went for Anker as a reputable brand rather than the many cheaper Shenzhen options.
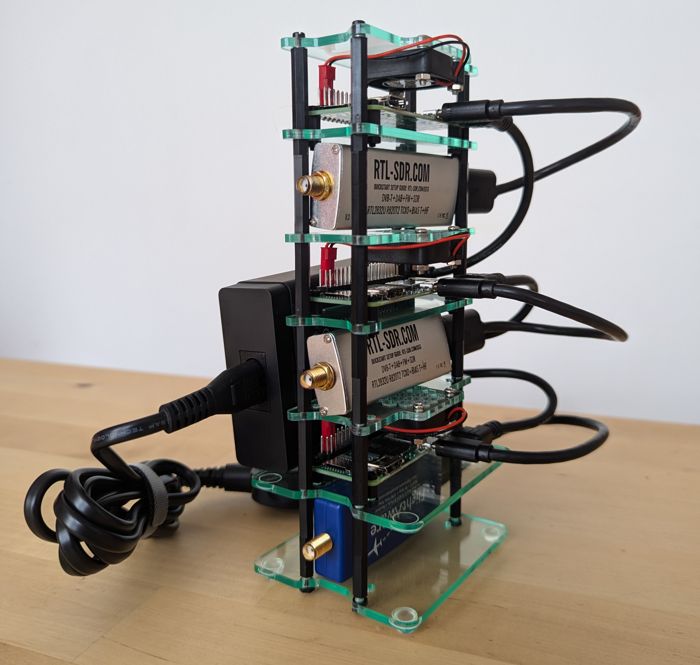
And with that, the Plane/Sailing hardware stack was ready to be powered up and configured!
Software Setup
For the software setup, I decided to re-use the same approach from Plane/Sailing Portable as well. I took the image from the portable system’s SD card, and duplicated it to all three new units, with a few changes:
- MLAT enabled on Mode S. This had to be disabled for the portable system because it is highly dependent on having an accurate position, and the portable system does not (yet) have a GPS receiver. Moving back to a fixed installation, we can re-enable this.
- Similarly, adding position sending to APRS-IS, now that a position is known.
- Sending to the full set of aircraft & ship tracking sites, rather than the smaller set used on the portable system. This is enabled by the mode from a Pi Zero W to Pi Zero 2W devices, which have greater processing power.
- Disabled journalling to the SD card, to preserve its life.
- Separate static IPs and hostnames for each device.
Using the portable system image has the added benefit that I can swap the devices between roles easily, quickly replace failed units, and even temporarily swap one to rtl_tcp mode if I want to.
Bill of Materials
This is the BOM for the current hardware build. Please note that the cost of the new hardware is correct as of August 2024, but for the hardware I re-used (RTL-SDRs, antennas and cables), I have just taken costs and suppliers from the previous BOM and have not updated them.
New Hardware
| Part | Purchase Link | Quantity | Cost (GBP)/ea | Cost (GBP) |
|---|---|---|---|---|
| Raspberry Pi Zero 2WH | The Pi Hut | 3 | 17.00 | 51.00 |
| Mini Cluster Case for Pi Zero 2 | The Pi Hut | 2 | 10.00 | 20.00 |
| Layer Kit for Mini Cluster Case | The Pi Hut | 2 | 3.00 | 6.00 |
| 32GB Micro SD card | The Pi Hut | 3 | 8.00 | 24.00 |
| Anker PowerPort 60W | Amazon | 1 | 21.99 | 21.99 |
| Angled USB to MicroUSB Cable 3pk | Amazon | 1 | 5.99 | 5.99 |
| 20cm MicroUSB OTG Cable | Amazon | 3 | 3.82 | 11.46 |
| TOTAL | 140.44 |
Re-used Hardware
| Part | Purchase Link | Quantity | Cost (GBP)/ea | Cost (GBP) |
|---|---|---|---|---|
| Diamond X-50 Antenna | Nevada Radio | 1 | 59.95 | 59.95 |
| Pimoroni ADS-B Antenna | Pimoroni | 1 | 24.90 | 24.90 |
| Pimoroni 8m N-type to SMA Cable | Pimoroni | 2 | 10.50 | 21.00 |
| SMA Cable Splitter | Amazon | 1 | 7.49 | 7.49 |
| FlightAware Pro Stick Plus | Pimoroni | 1 | 19.92 | 19.92 |
| RTL-SDR v3 Dongle | Technofix | 2 | 30.99 | 61.98 |
| TOTAL | 195.24 |
Add a Comment