Day 13, as it turned out, was our lucky day – the Raspberry Tank’s first day out!
Step 1: Enable the New Codes
The new codes that were discovered on day 12 were programmed into the SSH control software. As well as the forward (W), backward (S), left (A) and right (D) commands that the software could previously send, I also added the ability to command turret left (Q), turret right (E), turret elevation (Z) and fire (X).
You can download this version of the code from GitHub here.
Step 2: Reattach the Upper Chassis
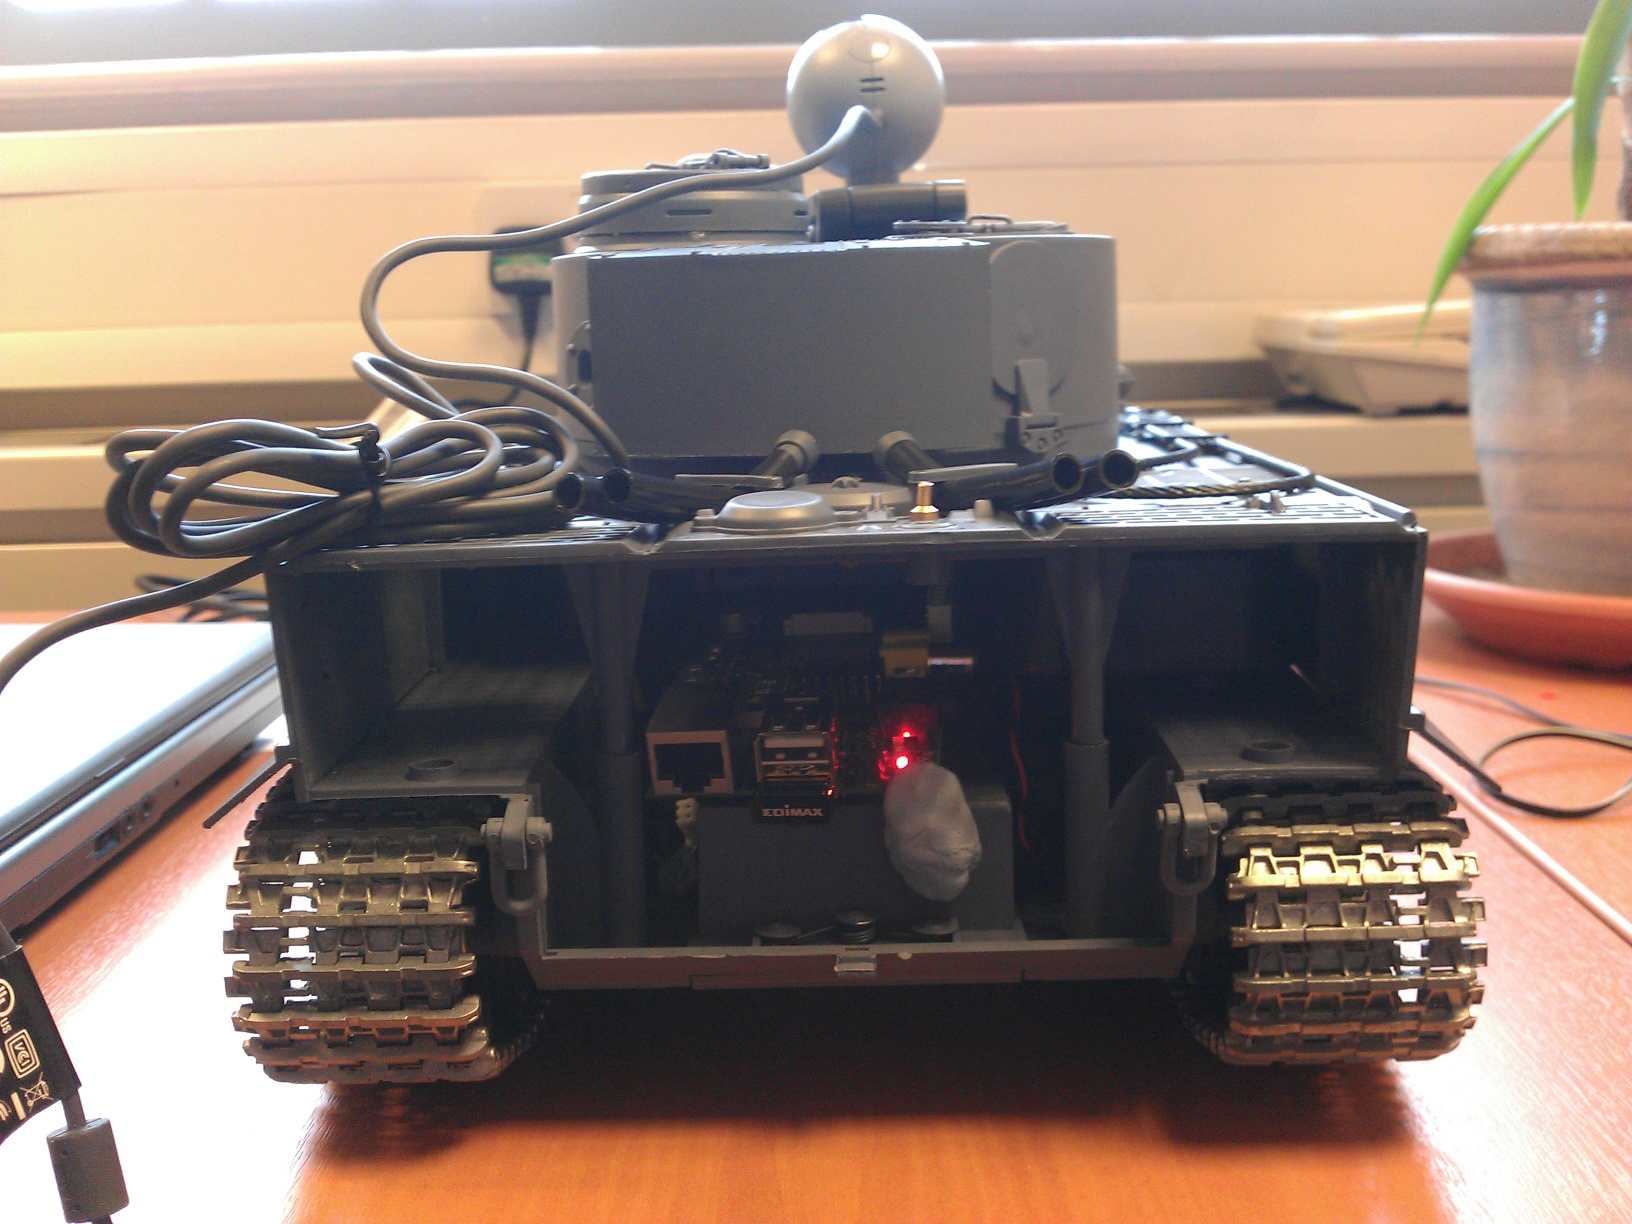
With the codes in place to operate the turret and firing mechanisms, the upper chassis was reattached to the tank. Firstly, the back panel was removed (below left) – this remained off to allow easier access to the Raspberry Pi. Secondly, the 8-way cable was reconnected to the upper chassis daughter board to allow the control signals to get there from the RX-18 (below right).


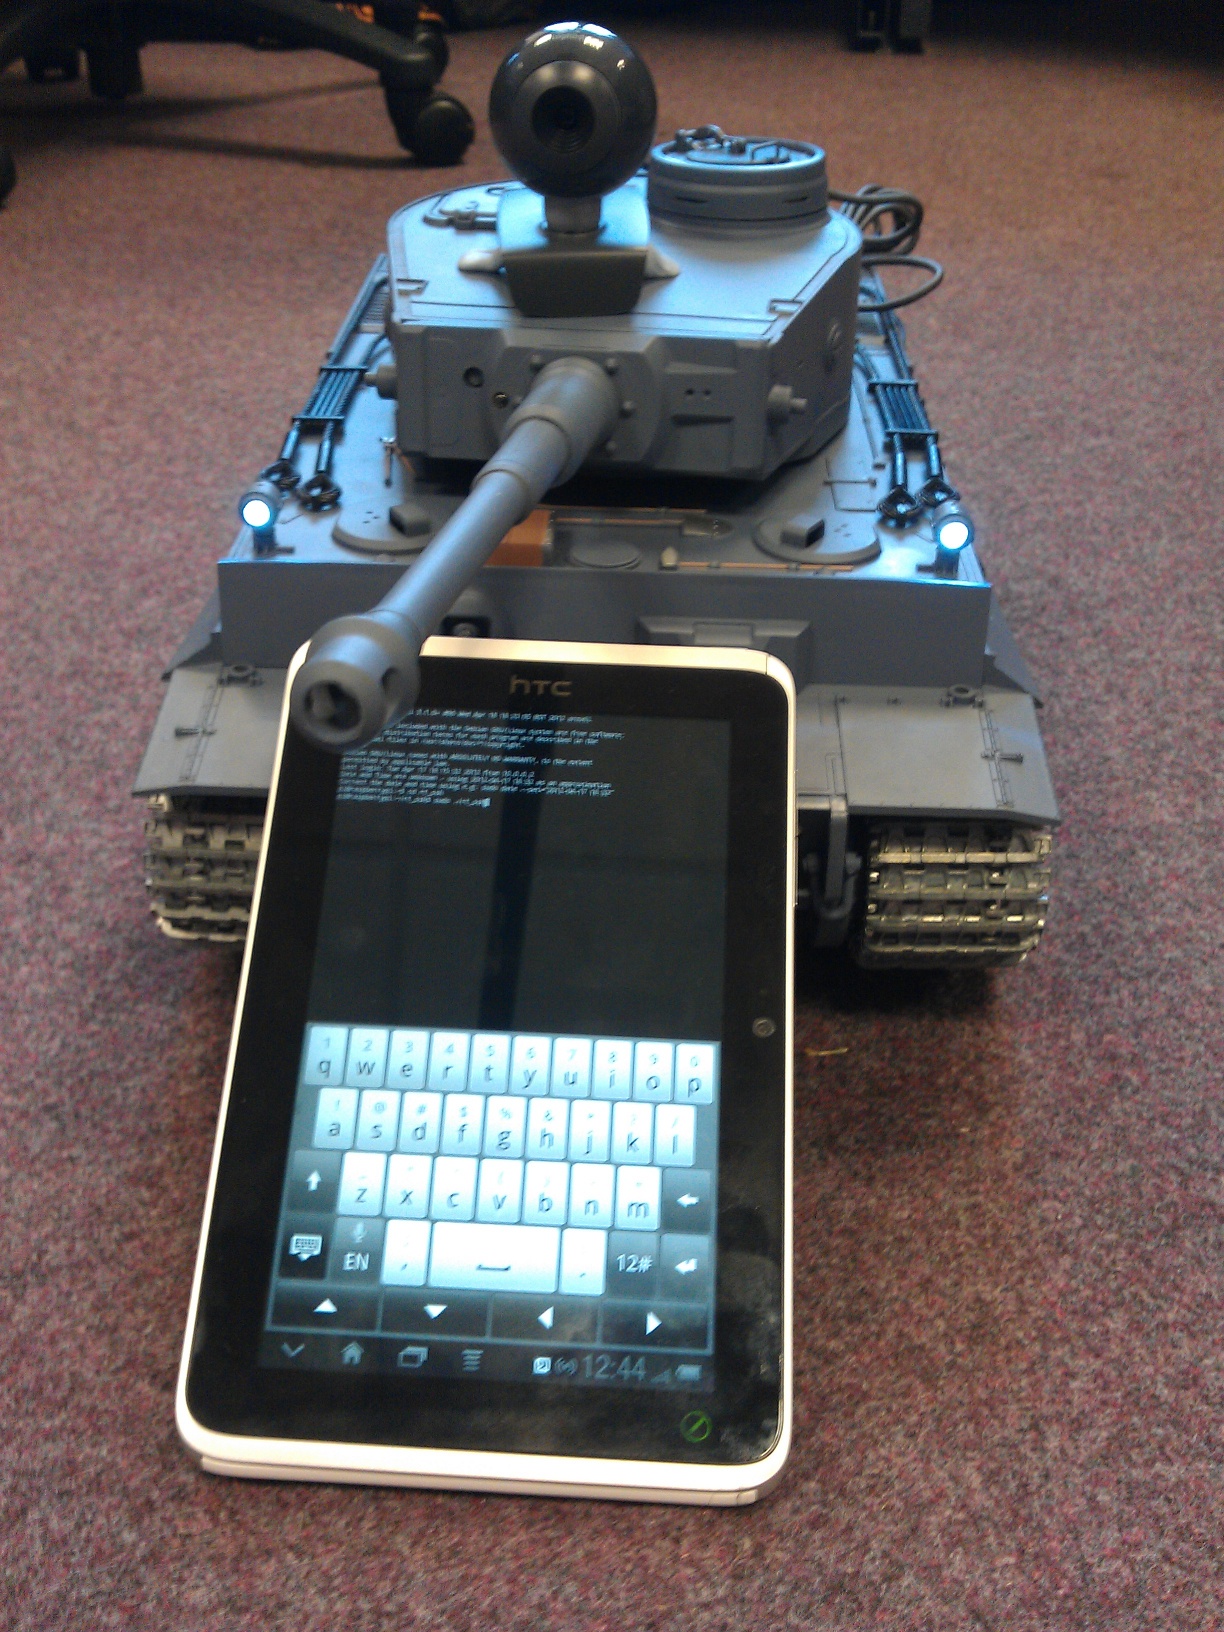
The upper chassis could then be screwed back on. From the rear, the tank now looks like the photo below left, and from the front (posing with its remote control device), below right.
A webcam has been added to the chassis in these pictures, though it is not yet integrated into the system. (Keep checking the build diary!)
Step 3: Fifteen Minutes of Internet Fame
Here’s the video of the Raspberry Tank’s first day out!
Comments
Wow, this looks a lot like these 2 tank of mine that I hacked:
The 1st time I went down your path and tried to keep the existing electronics. However I couldn't reverse engineer the comm codes, so I simply connected my Arduino (and then FEZ Domino) directly on the the control pins:
http://trandi.wordpress.com/2010/03/15/electric-remote-controlled-tiger-1-tank-toy-arduino/
The 2nd time, I completely replaced ALL the electronics with my own motor drivers, controled by an Arduino, which in turn is controlled by the main brain,a Lego NXT (with LeJOS running).
http://trandi.wordpress.com/2011/05/14/tiger-1-bb-airsoft-rc-tank-%E2%80%93-v3/
You must have already seen this 2nd version, it's already been featured on hackaday, and I find it pretty cool as you can really control anything, and it also has an IR camera which allows it to rack IR targets...
In any case, cool project and this motivates me to go back to using the original electronics eventually...
Thanks,
Dan
If you use an UVC compatible webcamera (or some kind of camera which can produce raw JPG frames) you can use the mjpg-streamer for streaming video. Using it you can stream live video with low CPU load.
https://sourceforge.net/projects/mjpg-streamer/
trandi: I did see your second build on Hack a Day, it almost swayed me towards doing all the internal electronics myself! I'm not too hot on power electronics and motor control though, so I decided just to tap in on the digital side. Your tank does seem to have much smoother motor control than mine, though, so I might end up going down that route in future.
Miklós: Thanks! I don't know much about the webcam's capabilities under Linux yet (I just read on the forum that it was compatible with the Pi), but assuming it can output something sensible, that looks like a good way of incorporating video into the web UI.
you cant hear what your saying in the video
I'm not saying anything important! I was just mucking around with it, not trying to explain what was going on.