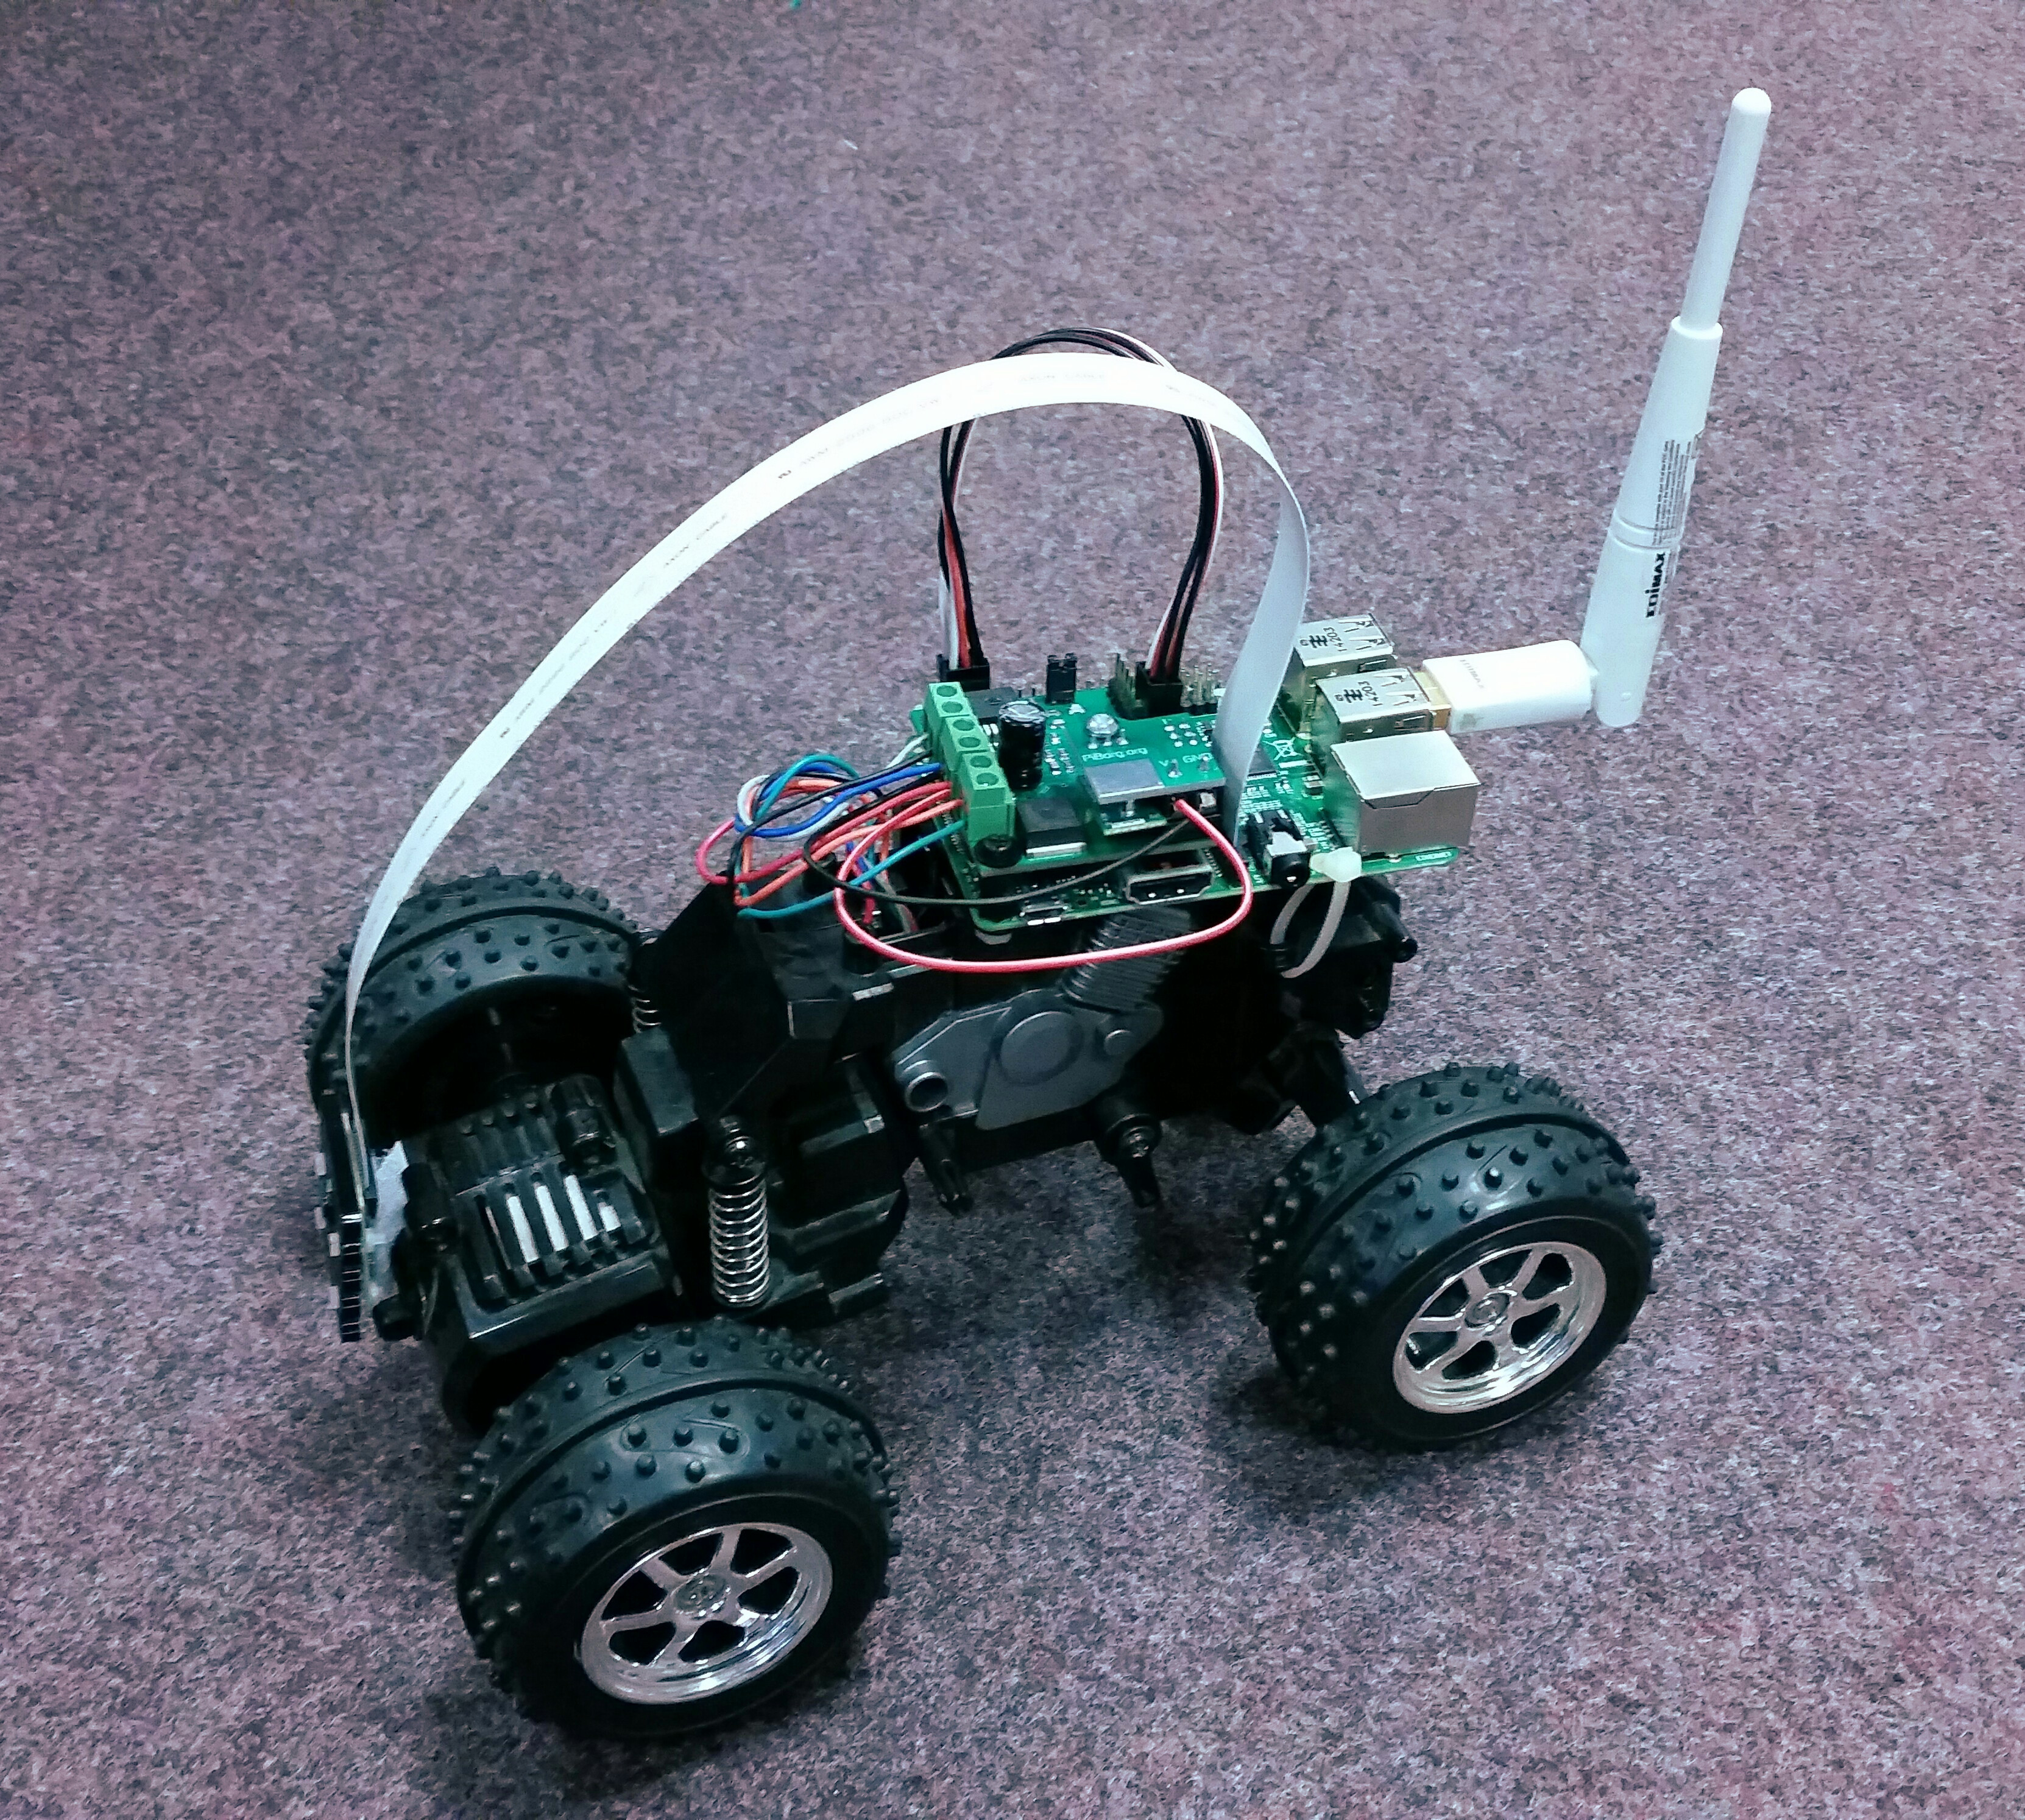
With the All-Terrain Pi freely exploring, the next step is to add a camera to it so it can be driven around beyond line of sight.
I’m actually using the camera from the quadcopter, which is in the ‘shop’ (my very messy desk) at the moment.
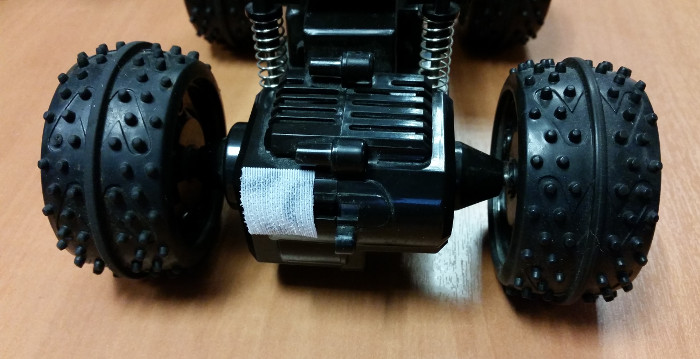
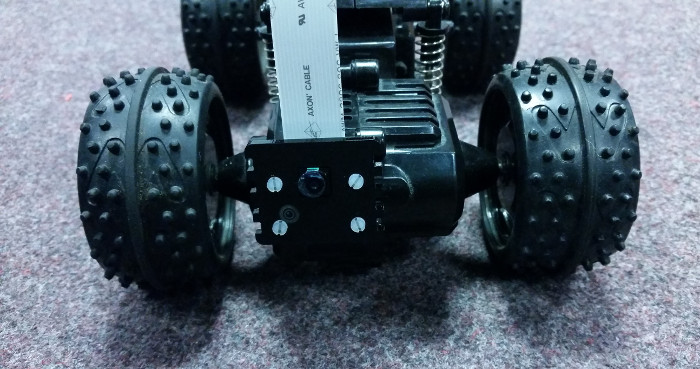
Unfortunately, there’s no neat place on the All-Terrain Pi chassis to fit a camera. The front 80% of the chassis rolls around 30 degrees off vertical when the vehicle turns, which isn’t ideal. The only section that remains vertical at all times is the rear section.
For this reason I decided to run the vehicle in reverse. This allows a fixed front section to mount sensors, at the cost of making the vehicle effectively have rear-wheel steering.
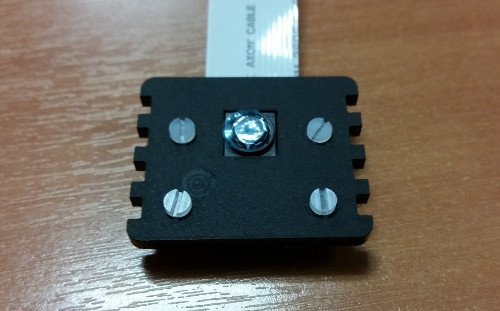
For a temporary fit, the camera was fitted with some sticky-backed velcro.
The counterpart was stuck to what’s now the front section of the robot.
The camera can now be fixed to the front:
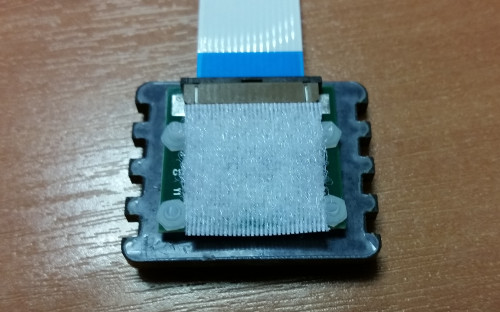
And a long camera cable was fitted to allow for the fact that the electronics stack will move from side to side during operation.
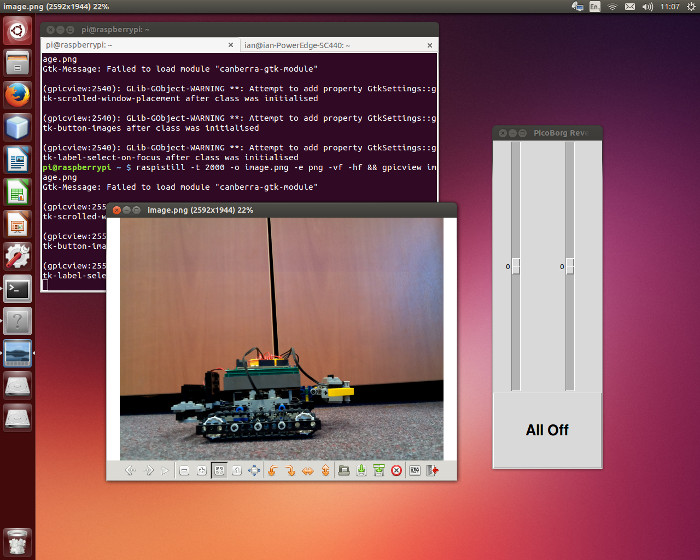
I was hoping that for an initial test, the raspivid utility could be used from my desktop via X forwarding. Unfortunately, the preview functionality of raspivid doesn’t seem to be compatible with X forwarding over SSH, so in the screenshot below I have taken an image with raspistill and opened that in an image viewer over SSH.
Add a Comment