We have a set of boards capable of controlling the vehicle — all that’s left to get the electronics stack wired up to the vehicle and cut the cables tethering the Pi to other things.

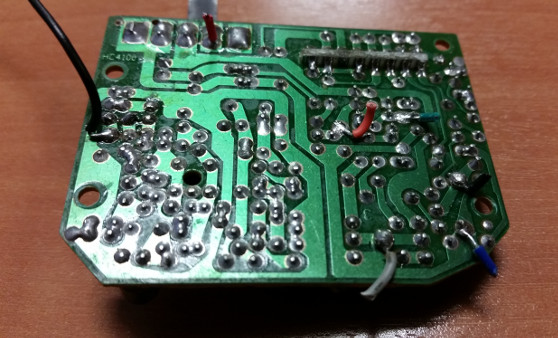
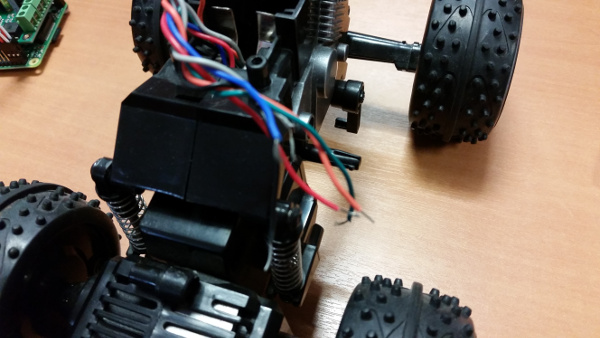
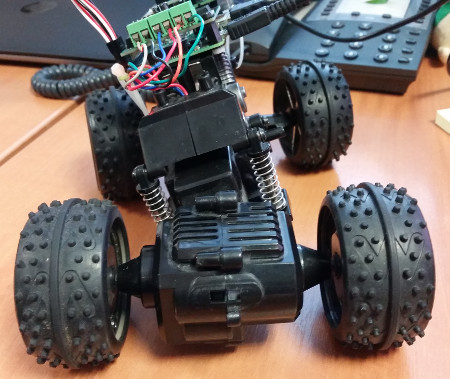
First of all, the original control board has to go. The six wires that join it to the battery and motors were cut, leaving stubs in case we need to restore the original functionality.
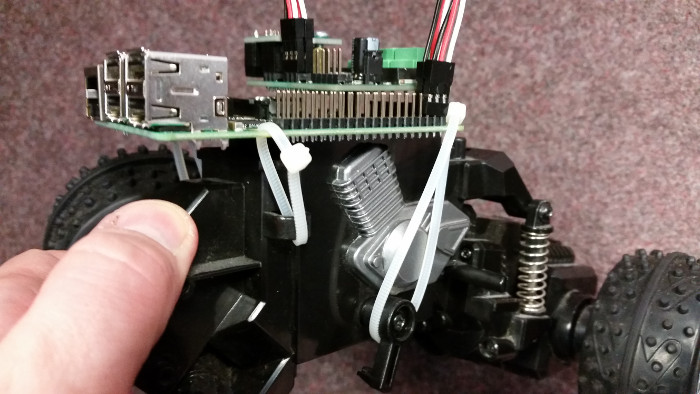
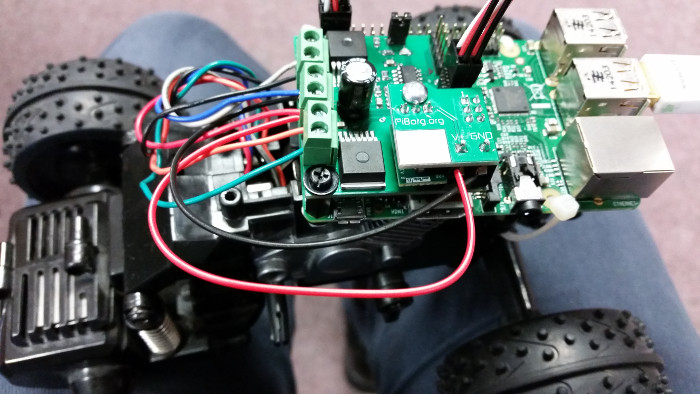
Now we have something to connect up to. The electronics stack has no neat place to sit on top of the vehicle, but the area on top of the battery enclosure is the closest there is to a flat area. This is part of the section of the vehicle that tilts when turning (which is roughly 80% of the chassis), so it must be firmly attached. Three cable ties do the job during testing, until a better mount can be designed.
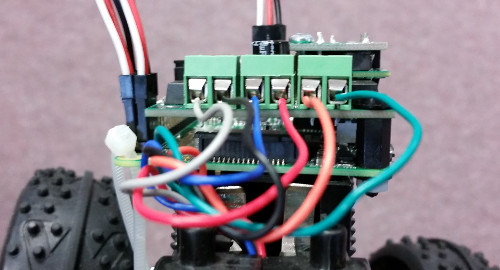
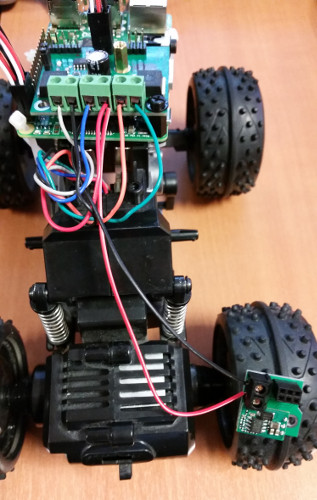
With a stable location for the electronics stack, the somewhat fragile cables can now be connected to the PicoBorg control board. Red and blue connect to the battery, black and grey to the main drive motor, and orange and green to the tilt/turn motor.
We’re now capable of controlling the robot’s motors from the Pi, although as we still require power, keyboard, mouse and monitor plugged into the Pi, it can’t be driven around just yet.

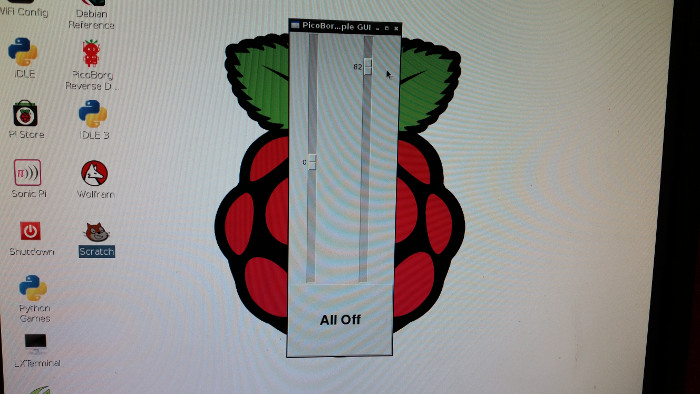
Using the simple Python GUI supplied with the PicoBorg libraries, we can test the motors in turn to ensure each one works as expected — with the robot lifted off the ground when testing the drive motor.
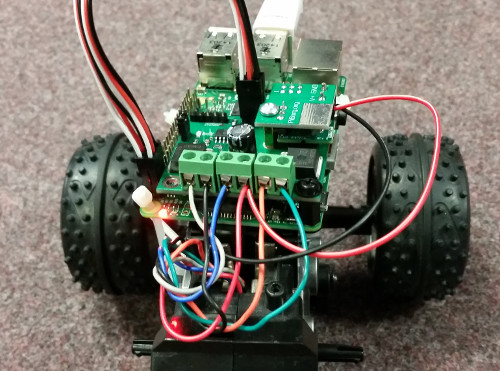
There are a few more wires to cut. Firstly, attaching a WiFi adapter and configuring it to run as an access point allows remote access to the Pi via SSH.
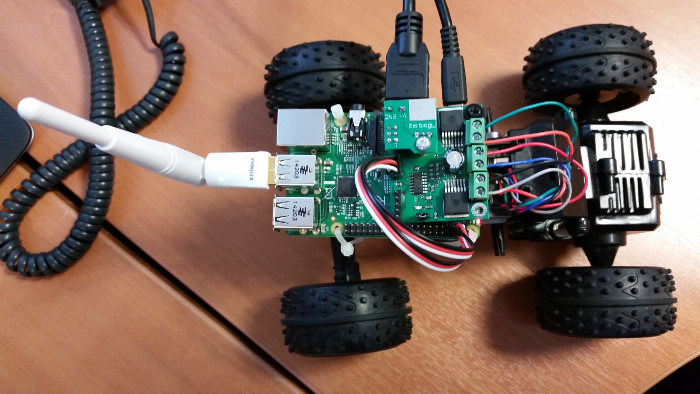
The USB power cable is now the only connection tying the robot to the wall. The BattBorg allows us to cut that cord too and provide 5V power supply to the Raspberry Pi from the vehicle’s batteries.
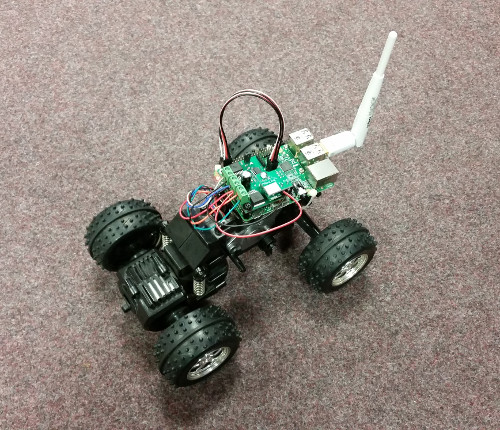
This now allows the All-Terrain Pi robot to be powered up without connection to anything else — it’s finally mobile.
Now we’re free to roam!
Here’s a video of its first run using the PicoBorg example GUI:
Add a Comment