The first step to setting up Plane/Sailing was to configure the Raspberry Pi. With Plane/Sailing version 1, I used two separate Pis (one for ADS-B and one for AIS) using pre-built images from FlightAware and SARCNET, but for version 2 I wanted to combine them into a single Raspberry Pi 4 Model B.
I chose to buy mine as a kit including case, power supply, and SD card, but if you’re replicating the build you can of course buy these things separately.
The SD card came pre-installed with the NOOBS environment, which is great for first-time Pi users, but it doesn’t offer the operating system flavour I wanted for this - Raspberry Pi OS Lite, which is a version that doesn’t come preinstalled with any graphical environment. I don’t intend on ever connecting a screen and keyboard—it will run headless and all interaction will be via SSH.
I began by using Raspberry Pi OS Imager from a separate machine. Once up and running, I chose the right operating system and flashed it to the MicroSD card. Then while the SD card was still in the host machine, I created a file named ssh in the first (boot) partition on the card. This is essential to make sure the Pi boots up with SSH enabled, otherwise there would be no way to remotely connect to it!
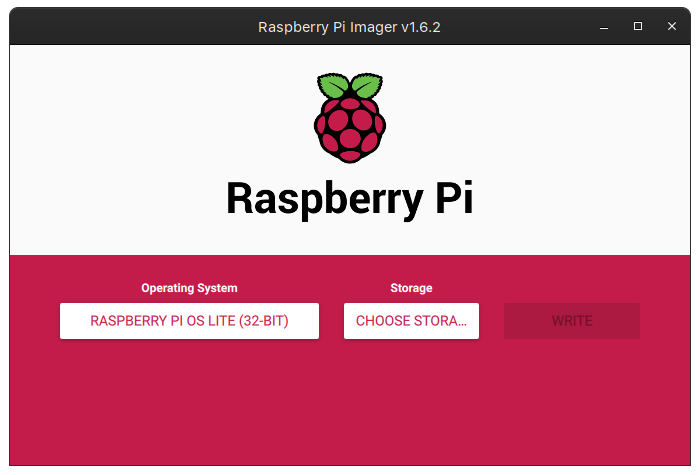 Raspberry Pi OS Imager
I use a wired connection to improve reliability for this project, so there was no need for WiFi settings. Once powered up and connected to my network router, I used it’s config pages to set a fixed IP address for DHCP to assign to the Pi, and then to forward incoming ports 80 & 443 to that device so it can operate as an HTTP and HTTPS server accessible from the web.
Upon first logging into the Pi via SSH, it nags about a couple of things—the default password, which can be set using passwd, and the country to use for setting the WiFi bands available. I went through raspi-config to set that anyway so it would stop complaining, but since this is a wired-only install it’s not strictly necessary.
One last thing to do is to ensure the DVB kernel drivers for the RTL chips are blacklisted. This ensures that the devices can be accessed directly via RTL-SDR libraries, rather than the kernel attaching its own drivers to them. To do so, create a new file at /etc/modprobe.d/rtl-blacklist.conf with the following contents:
blacklist dvb_usb_rtl28xxu
blacklist rtl2832
blacklist rtl2830
Then reboot the Pi.
With the addition of a cheap USB hub, it’s time to start attaching RTL-SDR dongles and installing software—see the next page!
Current Draw
Knowing that both the Raspberry Pi 4 and RTL-SDR dongles can be quite power hungry, I used an in-line USB current meter to monitor and check that the current and voltage stay within bounds. With the Pi, three RTL-SDR dongles and the AIS pre-amp all powered from the same supply, Plane/Sailing reaches around 1.6A of current draw and voltage remains above 4.8V, so with my 3A power supply the system seems happy.
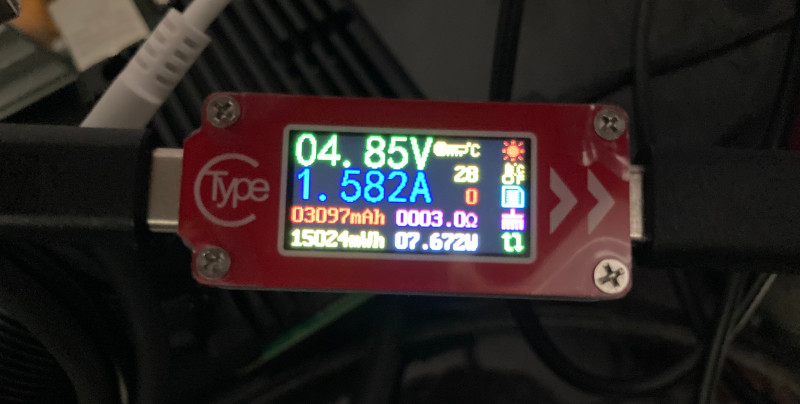
I originally wanted to include this current meter as part of the Plane/Sailing electronics enclosure, but given that both current draw and temperature proved relatively stable, I kept it for testing on other future projects instead.
Comments
Hi Ian Thank you for taking your time to explain how to! Two questions: The SSH-file, is that just an empty file? Which version of the Pi4 are you using, how much RAM?
Thanks! Looking into building this myself, with a PoE+ HAT on, to avoid the external powersupply.
Hi Bjarne,
Yes, the
sshfile is just an empty file. Any contents of the file are ignored. This feature is described in the official documentation here: https://www.raspberrypi.com/documentation/computers/remote-access.html#enabling-the-serverIf you have a monitor and keyboard attached to the Pi you can also turn on SSH the “normal” way using the interactive
raspi-configutility.I am using the 2GB RAM variant of the Pi 4. It’s plenty for this task, since I am not using a graphical user interface or any desktop software on it.
PoE HAT sounds like a good addition, let me know how it goes!