Day 13, as it turned out, was our lucky day – the Raspberry Tank’s first day out!
Step 1: Enable the New Codes
The new codes that were discovered on day 12 were programmed into the SSH control software. As well as the forward (W), backward (S), left (A) and right (D) commands that the software could previously send, I also added the ability to command turret left (Q), turret right (E), turret elevation (Z) and fire (X).
You can download this version of the code from GitHub here.
Step 2: Reattach the Upper Chassis
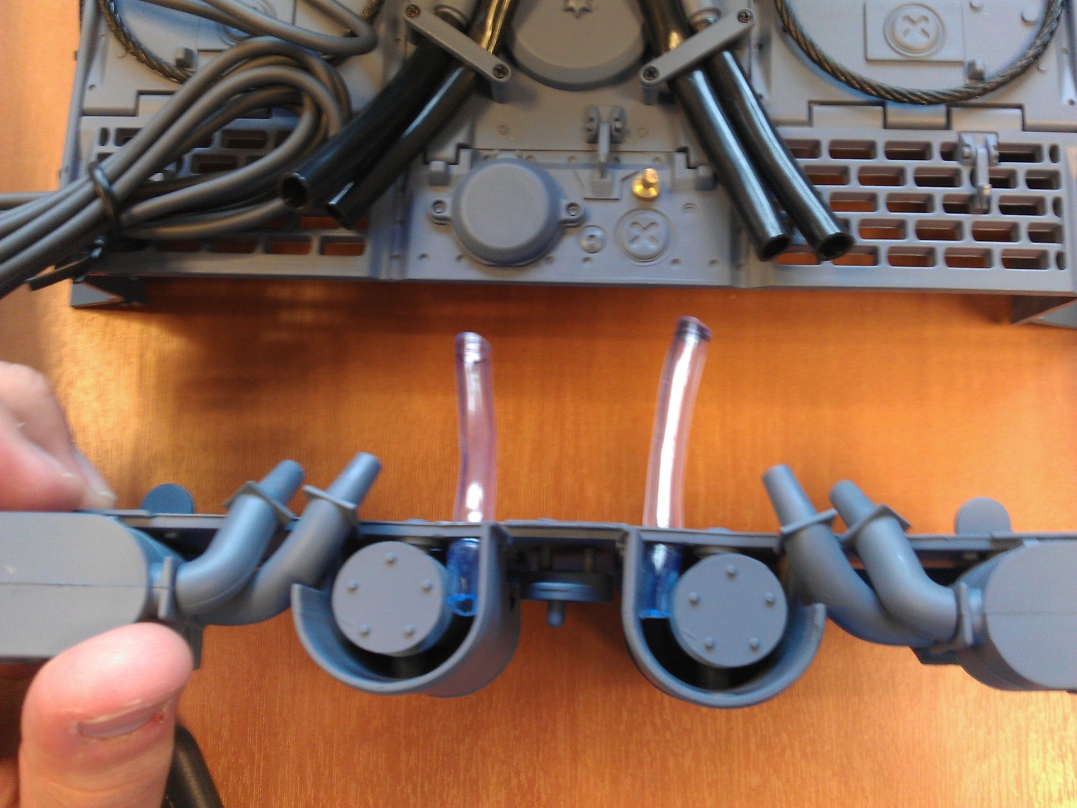
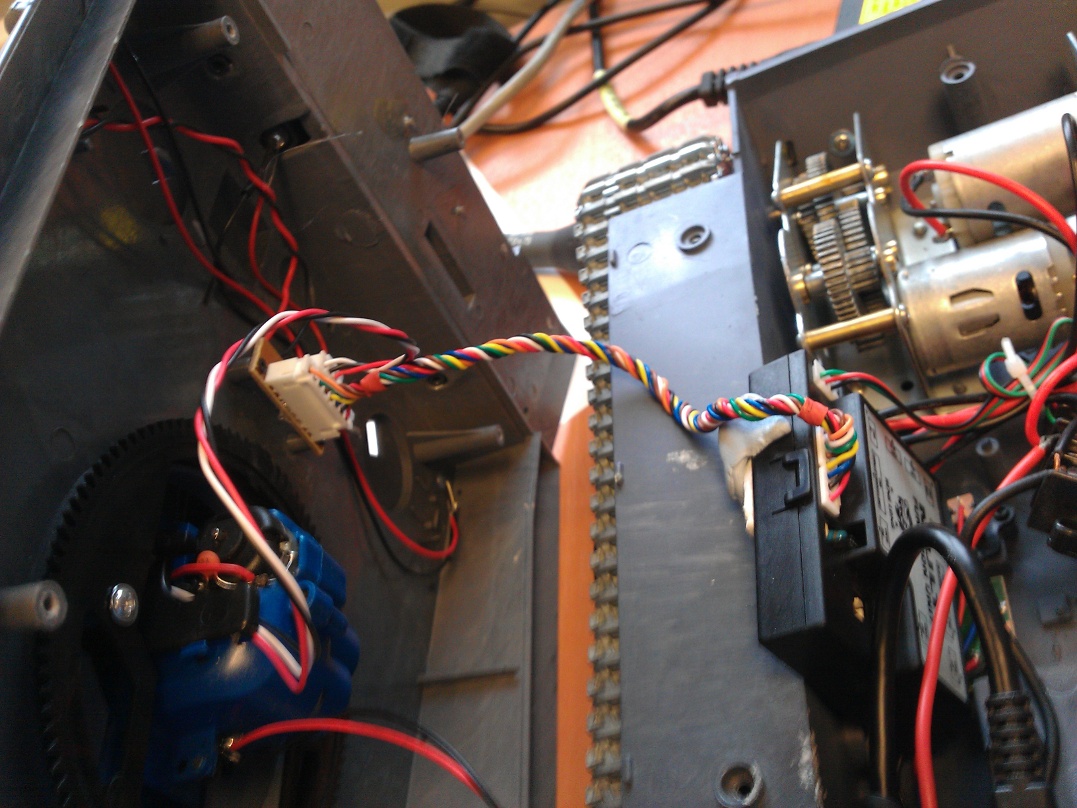
With the codes in place to operate the turret and firing mechanisms, the upper chassis was reattached to the tank. Firstly, the back panel was removed (below left) – this remained off to allow easier access to the Raspberry Pi. Secondly, the 8-way cable was reconnected to the upper chassis daughter board to allow the control signals to get there from the RX-18 (below right).
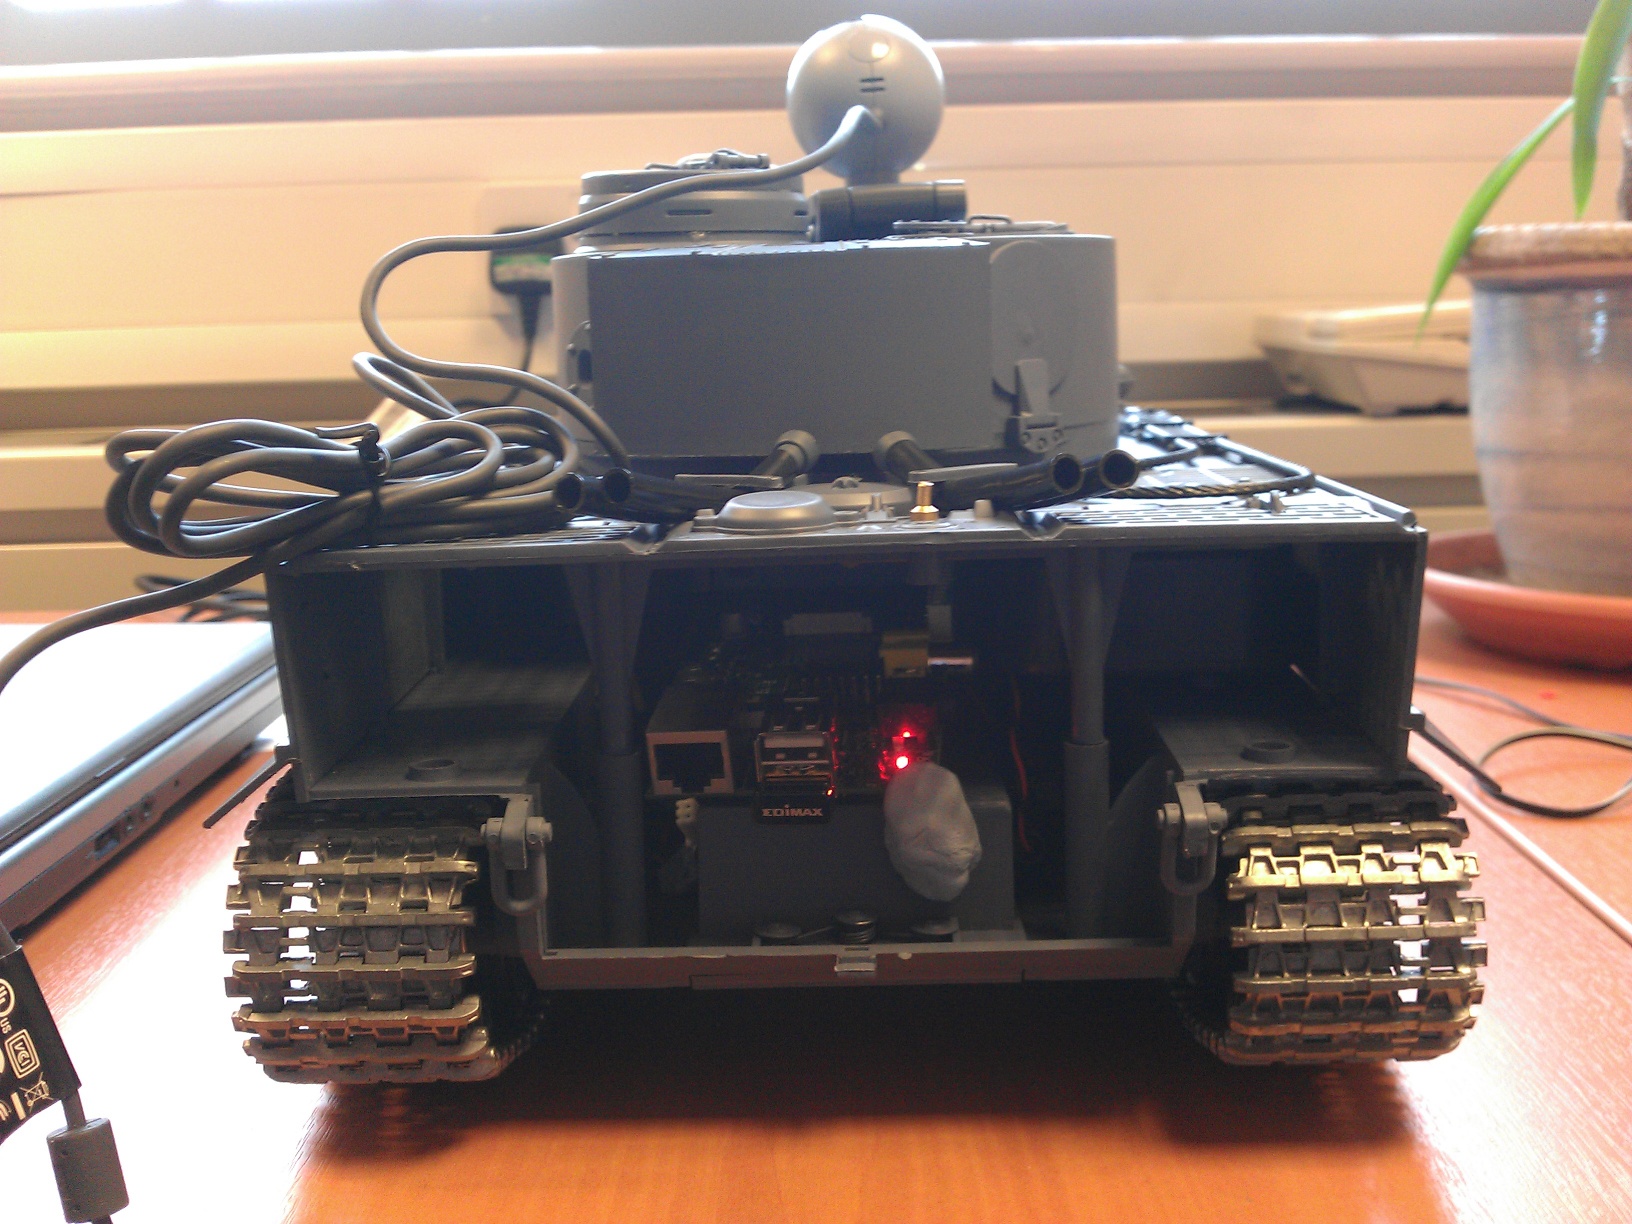
The upper chassis could then be screwed back on. From the rear, the tank now looks like the photo below left, and from the front (posing with its remote control device), below right.
A webcam has been added to the chassis in these pictures, though it is not yet integrated into the system. (Keep checking the build diary!)

Step 3: Fifteen Minutes of Internet Fame
Here’s the video of the Raspberry Tank’s first day out!
Comments